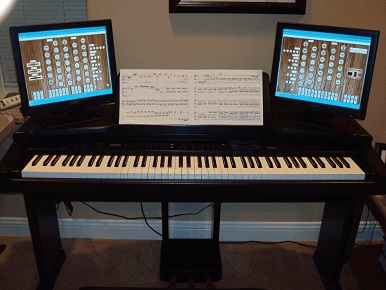
Home         Table of Contents         Section I: Research and Equipment          Section III: Wiring Diagrams            Section IV: Construction Photos

Section II: The Console Project


November and December, 2009.
I bought 2 touch screens, the Hauptwerk program and the Masterworks Our Lady of Mt. Carmel E. M. Skinner organ. I used my old Yamaha piano as a test bed.


January, 2010.
I ordered Classic MIDI Works Pro Keyboards and Pedal board with 3 expression shoes. I purchased a folding table from Costo and made risers to make the correct height from pedals to bottom keyboard.


February, 2010.


February, 2011.
During 2010 I bought another pair of MX8a's and another subwoofer. I added 32 lighted rocker tabs. See the Construction Section for dimensions and pictures.


September, 2011.
I made keycheeks from white oak and walnut. The speakers have been moved to a separate speaker cabinet that sets to the right of the table.


October, 2011.
I made monitor enclosures in anticipation of a grand organ console. However, this idea later changed to a minimal concept as inspired by MIDI Works console.


October, 2011.
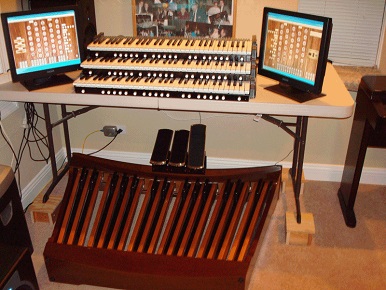
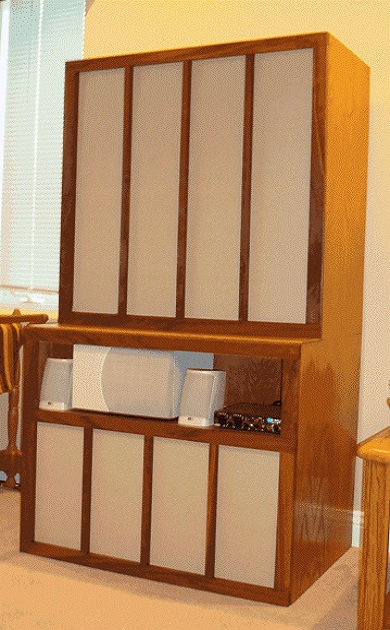
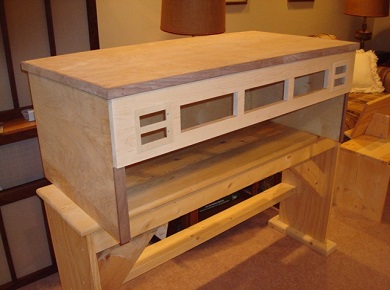
The top section contains two stereo pairs of M-Audio BX8a's and the bottom section two M-Audio subwoofers. The middile section is the computer speakers and and the E-MU 1616m PCIe sound module.
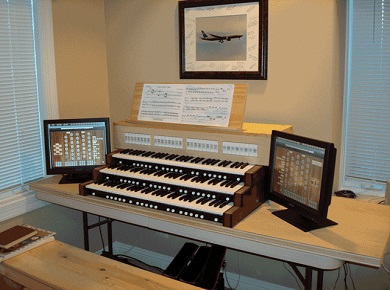

May, 2012.
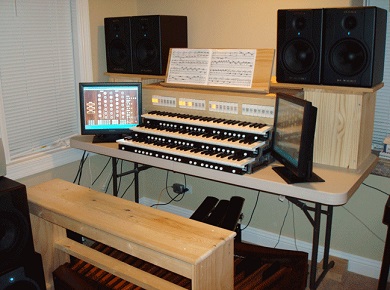
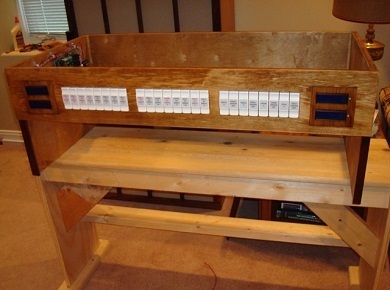
I decided to add MIDI Gadgets Boutique LCD screens. The hwlcd-4 includes two - two line 16 character LCD screens. I have decided to eliminate 8 of the lighted rocker tabs (leaving 24) and mount the LCD screens in the nameboard, two to the left of the tabs and two to the right. This meant a complete rebuild of the NameBoard and rocker tabs.
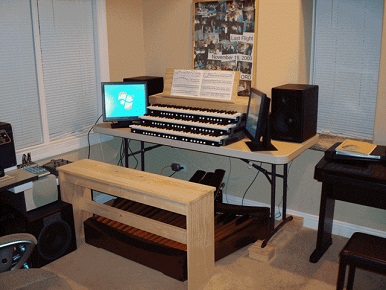
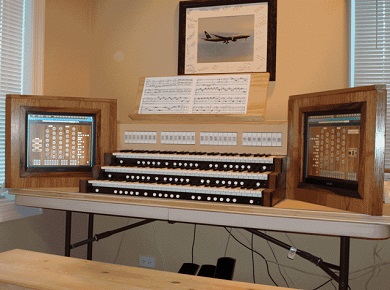

August, 2012.
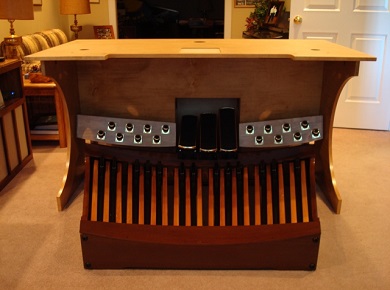
Almost done. After years of dreaming of a large church-like console, I have decided to go with the Classic MIDI Works minimal console.


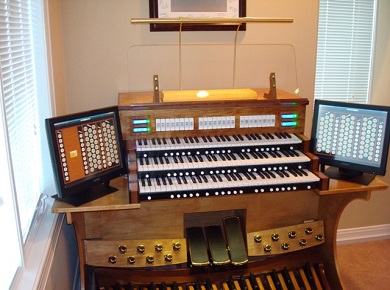
September 19, 2012. Declared FINISHED!! Correction! In May 2013 I decided to update the computer, change the sound module to the Focusrite Saffire Pro 40 and add the Lexicon MX400 sound effects module.

Home         Table of Contents          Section I: Research and Equipment         Section III: Wiring Diagrams            Section IV: Construction Photos

-->